 Chinatown Batik Canting Pen Picker: Fine Spouts for Silk
Hidden Gems & Odd Finds
Katong Batik Canting Pen Picker: Wide Spouts for Wave Fills
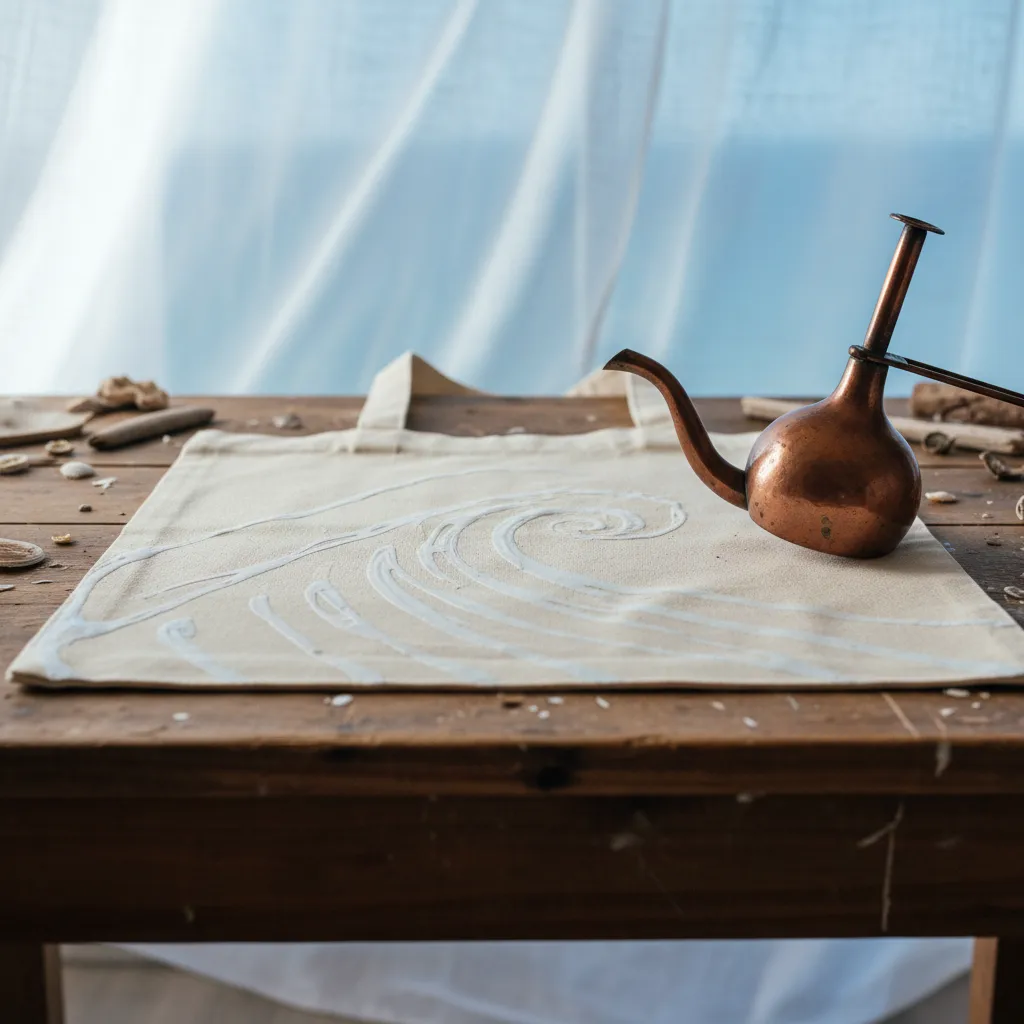
A sea-wave tote bag near the Katong coast shows why a wide filling spout and a generous reservoir matter as much as any fine outline tool.
Large blocks of untouched colour are what make a wave motif feel like the sea, and those blocks depend on how evenly you can fill an area with wax. For a batik canting pen picker in Katong, the overlooked tool is the wide filling spout, sometimes called a tembok canting, which floods broad shapes far faster than a fine outliner. The neighborhood sits close to the eastern shoreline, and a sea-breeze afternoon spent sketching waves offers the right mood for a project built around bold, confident shapes.
Design a tote that is mostly negative space
Draw the side of a tote bag on paper and fill the lower half with three rolling wave bands. Decide that the crests will stay pale, protected by wax, while the troughs take the dye. That means you need to cover a lot of cloth with resist, not just draw lines. Shade every area you plan to wax. If more than a third of the panel is shaded, a fine spout alone will turn the project into a marathon and the early wax will crack before you finish.
Notice the edges where crest meets trough. These deserve a clean outline drawn first with a medium spout, creating a wall that keeps the later fill wax from spreading into the dye areas. The sequence, outline then fill, is the backbone of the project. Writing it on the sketch reminds you that you are choosing two tools that work in partnership rather than one tool that must do everything.
What a wide spout changes in your hand
A wide spout releases wax generously, so it covers a crest in a few broad strokes. The trade-off is speed of depletion: the reservoir empties quickly, and the wax at the bottom cools as you work. Pair a wide spout with the largest bowl you can hold comfortably. A deep copper reservoir keeps more wax hot for longer, smoothing out the flow from the first stroke to the last.
Hold the canting and pay attention to weight. A full large bowl pulls the tip downward, and on canvas you want the spout to glide just above the surface, not scrape it. A longer handle helps balance that weight away from your fingers. Some makers prefer to fill large areas with a brush instead, and that is a reasonable choice for very big shapes. A wide canting, though, gives a slightly textured, hand-drawn fill that many people find more expressive.
Keep the outliner modest
For the wave outlines, a medium spout is the practical partner. Canvas is thick, and a very fine line may not penetrate to the reverse side, leaving dye free to seep under. A medium opening lays enough wax to soak through the weave, forming a reliable barrier. Draw each outline in long, curving strokes, letting the wave shape carry your wrist rather than stopping and starting.
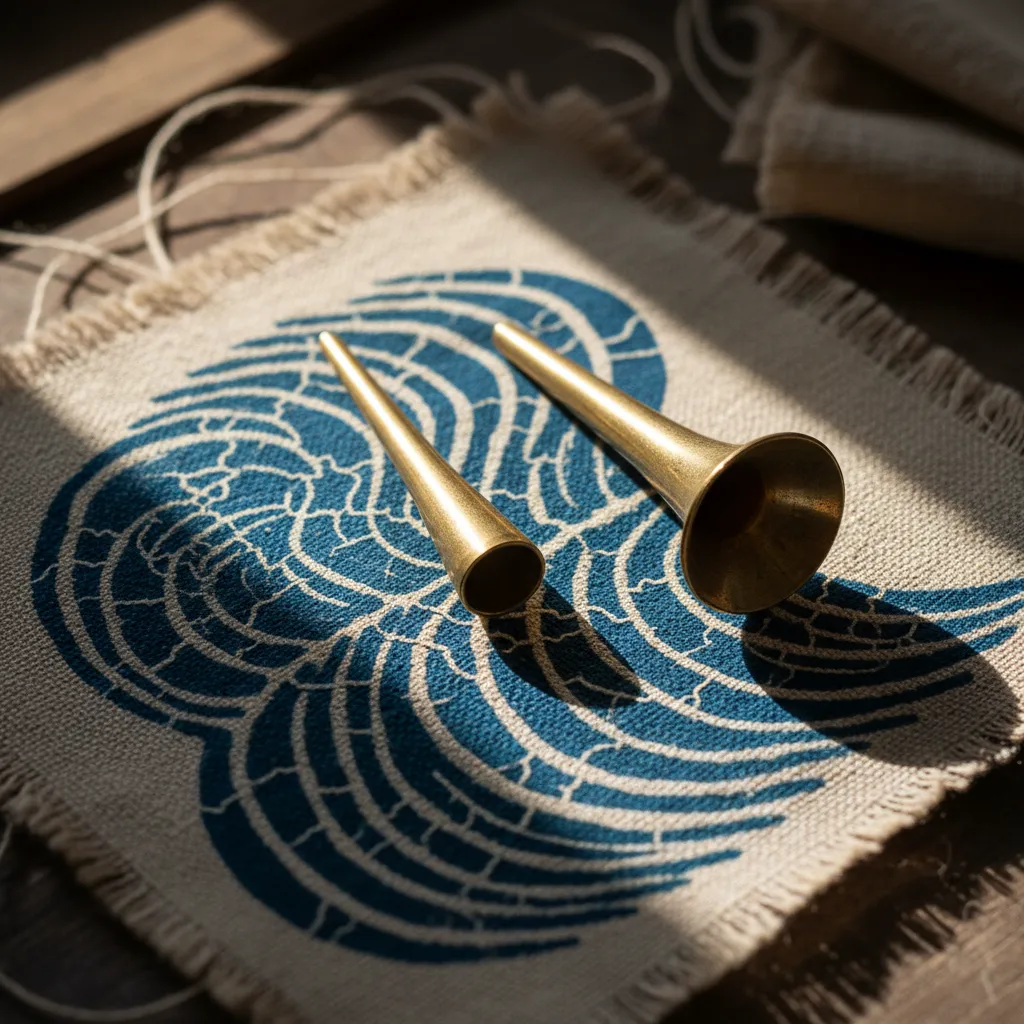
When comparing outliners, look along the spout from the side. A gently tapered tube tends to give a smooth, rounded line; an abrupt, short tube can make the wax spit at the start of a stroke. Neither is wrong, but the tapered profile is kinder on curves. You need only one outliner for this tote. Save the fine spouts for a future project with intricate detail.
Heat, humidity, and canvas
On canvas, wax must be hot enough to penetrate fully. If it looks milky or sits on top of the weave, it has cooled too much and will flake during dyeing. Watch for wax that turns the fabric slightly translucent, a sign it has soaked through. In humid weather, keep your wax pot steady rather than pushing it hotter, since overheated wax smokes and can spread beyond your outline walls.
A wax blend with a good share of paraffin cracks attractively across large filled areas, creating fine veins of colour through the pale crests that echo foam on water. If you prefer clean, solid crests, choose a blend richer in beeswax or resin, which stays flexible. Decide which effect you want before buying wax, because the same wide canting will produce very different waves depending on that one choice.
An unhurried Katong afternoon
Katong combines heritage shophouses, Peranakan cultural touches, local eateries, and easy access to the coast. A relaxed outing might begin with a stroll among ornate facades and end with time watching the water, sketching the shapes waves make as they break. Along the way, keep an eye out for craft studios, textile displays, or workshops that let you hold a canting and feel its weight before committing.
Karpo APP can point you toward nearby textile, craft, and seaside spots when you want a few places to consider around Katong. The choices stay with you: pick the suggestions that appeal, set your own pace, and get there however you like. Some of the best moments come from simply sitting near the shore with a sketchbook, letting the next wave motif take shape.
Testing before the tote
Before waxing the tote, test both tools on a canvas offcut. Draw a short wave outline with the medium spout, then fill one crest with the wide spout. Let it cool and look at the reverse side. If the wax has soaked through evenly, your tools and temperature are right. If patches look dry from behind, return to the fill with a second pass or work with hotter wax next time.
Dye the test piece if you can. It reveals whether outlines held, whether fill wax cracked the way you hoped, and whether the wide spout left streaks you enjoy or dislike. Five minutes of testing saves an entire tote panel. It also teaches you more about the two cantings than any amount of handling them in a shop.
Choosing your pair
For a wave tote, the sensible pair is one medium outliner and one wide filling spout with a generous reservoir. Skip the fine detail spout for now. If your waves later grow intricate, with spray dots or foam lines, add a fine canting then. Building a set slowly, project by project, ensures that every tool earns its place and that you understand exactly why you chose it.
Ask Karpo for more information.
Keep reading
- Chinatown Batik Canting Pen Picker: Fine Spouts for Silk
 Tiong Bahru Batik Canting Pen Picker: Handles and Bowls
 Joo Chiat Batik Canting Pen Picker: Twin Spouts for Borders