 Shoreditch Comic Shop Crawl Planner: Murals to Manga
Hidden Gems & Odd Finds
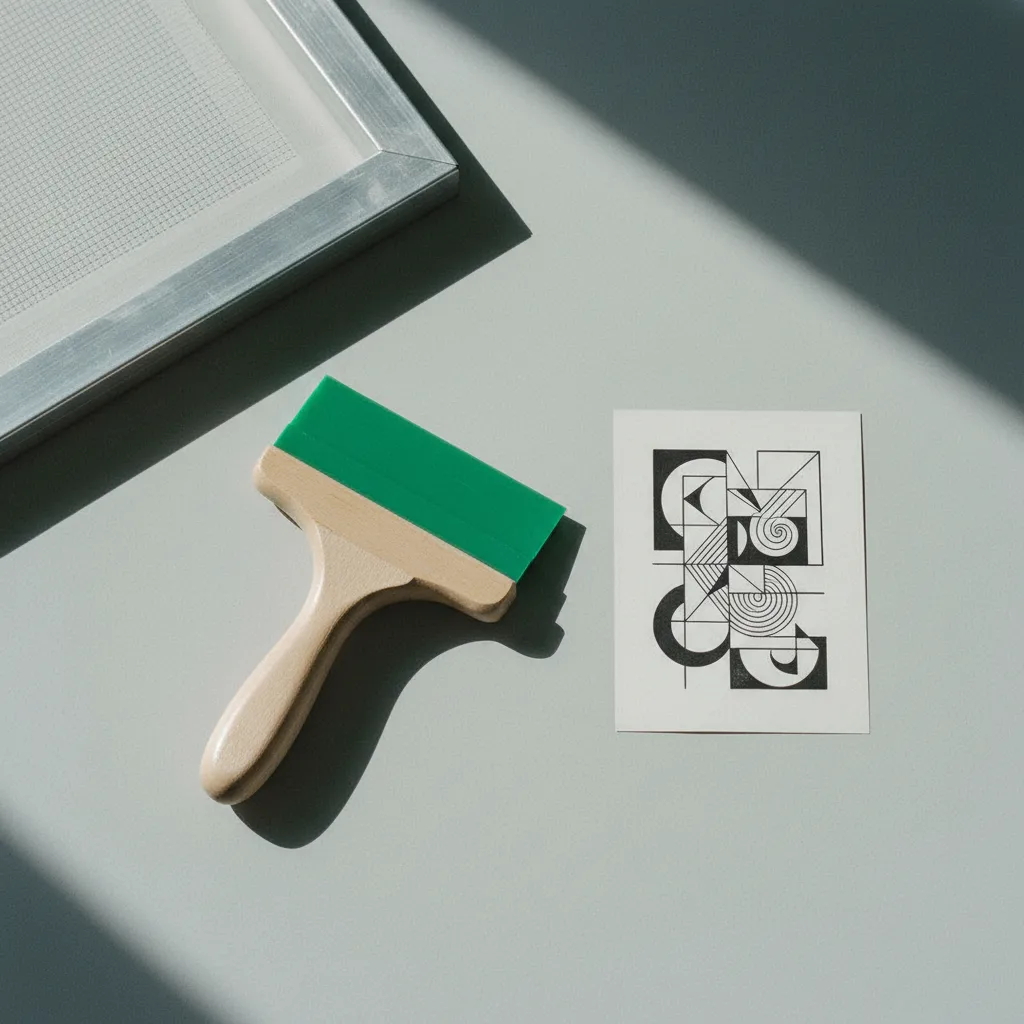
Clerkenwell Screen Printing Squeegee Picker: 3 Blade Tests
Choose a blade for delicate paper work by comparing edge shape, flex and usable width before a self-directed Clerkenwell materials outing.
A square blade is the useful starting comparison for fine paper prints; softness becomes meaningful only alongside your ink, mesh and drawing. This Clerkenwell screen printing squeegee picker starts with three decisions: the edge that meets the screen, the resistance you feel through the handle, and the width your frame can actually accommodate. Bring a small version of your intended image to a materials browsing outing. A delicate architectural line and a large solid rectangle place different demands on the same tool, even when both end up on paper.
Let the drawing set the brief
Clerkenwell suits an outing built around looking closely: brick, pale stone, recessed doorways and changes of scale give a designer plenty to notice between stops. Use that visual attention on your project before you use it on equipment. Mark the narrowest gap in the artwork and the largest uninterrupted area of colour. Those two features make a more useful conversation than asking for a professional squeegee. You want controlled ink transfer across the actual stencil, rather than a tool whose appearance suggests expertise.
Make a paper card with your substrate, intended ink system, usable frame opening and image width. Add whether this is a hand pull or a different setup, because those conditions affect the comparison. Leave space for an answer you have not settled yet. Perhaps the tiny lettering needs redesigning before blade selection will matter. Carrying that uncertainty honestly prevents the outing from turning into an attempt to solve every printing problem with harder rubber. The artwork remains part of the printing system.
Test one: read the edge in silhouette
A square profile offers a defined working corner. Rounded profiles present a different contact shape, while bevelled blades introduce another geometry again. Compare the silhouettes rather than the colours: blade colour alone does not reliably communicate hardness across different makers. If samples are available to inspect with permission, look along the working edge against a plain background. You are considering continuity and shape, not rubbing a bare blade across a shop surface or treating display tools as printing equipment.

For a fine-line paper project, put a clean square edge on the initial shortlist. That is a testable starting position, not a guarantee of sharp prints. A damaged edge can leave a recurring defect, and a sharply defined blade cannot rescue an unsuitable stencil or badly managed ink. Skip a rounded alternative chosen only because it looks gentler. Its value should come from a deliberate deposit requirement in your own process. The decision is strongest when you can explain the expected difference before making a pull.
Test two: separate hardness from projection
Durometer describes material hardness; it does not describe the complete feel of an assembled squeegee. The amount of blade projecting beneath the holder changes how readily the working portion bends. Thickness, construction and grip also enter the picture. Two tools with the same stated hardness can therefore feel different in use. Compare like with like where possible, and write the construction beside the number. A neat numerical ranking without those details can obscure the very behaviour you are trying to understand.
A firmer blade generally resists flex more than a softer comparable blade, but pushing harder is not a substitute for understanding that resistance. On a permitted dry handling comparison, notice whether you can keep your wrist comfortable while maintaining the intended orientation. Do not force a sample to demonstrate its limits. The question for this outing is modest: which construction feels controllable enough to take into a later printing trial? Reject the idea that maximum firmness automatically means maximum precision for every hand and every surface.
Test three: measure the useful width
The blade must cover the image while travelling inside the available frame space. Measure the opening and account for room to move; the outside dimensions of the frame are not the same measurement. Also consider where your hands will sit during the stroke. A tool that spans the artwork but crowds the frame can turn a small paper edition into a sequence of awkward corrections. Take a simple sketch showing these relationships, with the image drawn inside the usable printing area.
Avoid selecting an oversized squeegee to cover hypothetical future work. Additional width can make alignment and effort less manageable when the present print is small. Equally, an undersized blade encourages attempts to piece together a coverage problem that should have been solved at the selection stage. Choose around the project on your card. If you are considering another format, sketch it separately rather than forcing one purchase to answer incompatible jobs. A clear reason to postpone a second tool is a useful result.
Give the neighbourhood a separate purpose
Between materials decisions, let Clerkenwell be a source of compositional ideas. Look at how a dark opening interrupts a light facade, or how a narrow passage changes the apparent density of a streetscape. Translate one observation into a small black-and-white thumbnail. This keeps the outing connected to the print without claiming that a particular doorway contains supplies. Street atmosphere is useful inspiration; it is not evidence of an accessible workshop, specialist advice or products waiting on a shelf.
For nearby place recommendations, ask Karpo APP for art-material places around Clerkenwell. You decide which suggestions are relevant, which places to visit and how to travel between them. Keep the material questions on your own paper card so that a recommendation does not become a substitute for deciding what the project needs. A short list can be enough for an afternoon. There is no obligation to turn a browsing session into a circuit or to leave with equipment simply because you went out.
Carry one variable back to the print table
At home, compare candidate behaviour using the same artwork, substrate and ink preparation. Keep a note of the blade profile and construction alongside each print. Change one controllable factor at a time where practical, otherwise a different result may come from pressure, angle or ink rather than the tool. Judge the narrow gap and the solid rectangle you marked earlier. A pleasing overall impression can hide a repeated loss of detail that becomes obvious when the relevant area is examined consistently.
Finish the outing with a decision small enough to act on: a square-edge candidate for a controlled trial, a revised frame measurement, or a postponed purchase because the drawing needs work. Keep blades clean according to their material and ink care guidance, and protect working edges during transport and storage. An exposed corner knocked against other tools can undermine a careful choice. The useful souvenir from Clerkenwell is a clearer connection between hand, blade and image, with the next experiment already defined by your own priorities.
Ask Karpo for more information.
Keep reading
- Shoreditch Comic Shop Crawl Planner: Murals to Manga
 Bermondsey Comic Shop Crawl Planner: Zines Under the Arches
 Clapham Comic Shop Crawl Planner: Charity Shelves and Common